Making a theater
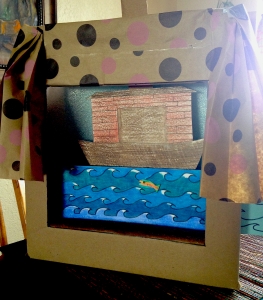
Last week we discussed using previously posted “bits” of worksheets to make new lessons, and this week that idea is further enhanced by making a cardboard theater to help you tell your Bible stories. The photo above shows the front of the theater which is just a cardboard box. I am telling the story of Noah here. It is up to you to determine how many scenes you want in your story. I have made the opening to be a little smaller than one full sheet of paper to be able to utilize previous scenes from this blog but you can make the size suit your needs. You will need to tape up all of your sides (actually they are the flaps that would have made the top of your box) then cut out your opening. Cut only the sides and top of your opening because you are going to gently fold down the bottom section to form your stage.
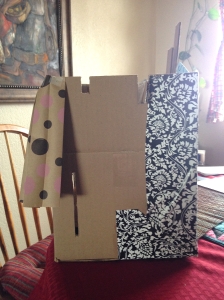
Side folded down to form stage
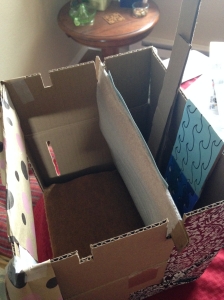
I had some felt left over from the lesson on Adam and Eve, so I glued it on top of the stage after it is securely taped. Next I cut slots to hold scenery…these need to match as close as possible on each side so the scenery hangs straight..
slots for the scenery
I taped up the sides with heavy-duty tape and then to cover the tape I glued contact paper. Glue it with a good tacky glue because it will not stay stuck otherwise!!! Cover as much of the box as you want. It helps to “weatherize” your theater.
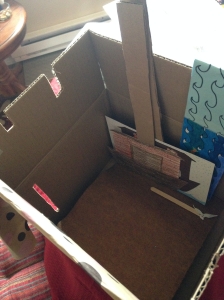
scene placement
 The scenes can be stapled to a ruler shape made out of cardboard accommodating a different scene on each side. You can also store all of your story figures and scenes in the back of your theater.
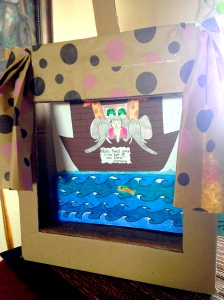
Front of the theater
Different figures can be glued or taped to craft sticks or reinforced cardboard. If you don’t reinforce the cardboard it will start to bend as you move your figures around. Decorate the front of the theater with some sort of curtain if desired . I just had a small amount of wrapping paper handy but you can use material and also extend the length. I glued the curtain across the top but stapled the gathered portions on each side. Just make sure that your curtains do not interfere with your side slots.

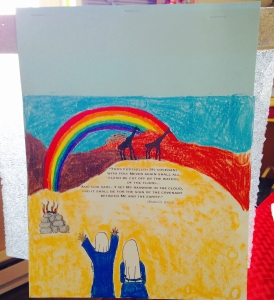
Using past lessons as scenery.
For this scene, I sized a worksheet with the opening and cut it to fit. Then it is glued to another full sheet of card stock that is then stapled to a cardboard ruler shape about an inch wide (see photo above …there is also a pic that shows you how to place the scenes into the slots you have cut). Note: this is also the worksheet each child gets to color and take home. Don’t be surprised if your kids want to make one of these theaters for themselves! This is also a good tool for review…encourage your students to retell the story using the theater!
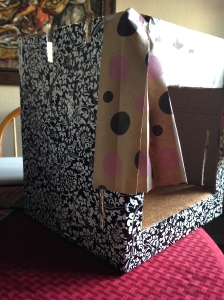
side view with stage.