Marah…The Waters of Bitterness

…I will bring you unto the land which I swore to give to Abraham, Isaac, and Jacob…” Exodus 6:8

Marah...The Waters of Bitterness

Marah…The Waters of Bitterness

Welcome to the blog which adds another important story in our series of the great lawgiver, Moses.  (To see the rest of the stories/worksheets offered please view the Table of Contents for both Old and New Testaments…Jan. 6th, 2014 post)  After the great deliverance from the Egyptian army, the Children of Israel had a three day march and came to the Wilderness of Shur…remember that Hagar had been found by the Angel of the LORD by a spring on the way to Shur? Would the people recall their God’s loving care from the past few weeks when their water, which they had packed for their Exodus , had run out?  We read that when they came to Marah, the waters were bitter and they could not drink them…”And the people complained against Moses, saying,’What shall we drink?’ So he (Moses) cried out to the LORD, and the LORD showed him a tree.  When he cast it into the waters, the waters were made sweet.”

I think this is a great story for kids because we know that life has a tendency to throw us curveballs…bitter circumstances where we are all tempted to complain that  “this is not fair… or…God, you must not love me!” Children are watching the adults in their lives so see how they respond to these “curveballs”.  They will take these experiences into consideration when contemplating their own personal faith-walks.  Let it not be said that we are “complaining children”  who occasionally worship…instead of “worshipful children” who occasionally complain! Please be prepared to spend some time defining bitter/bitterness.

Marah worksheet

Marah worksheet

Before this page gets colored, make sure the palm branches get colored in first. (FYI…I used colored pens for this)  As I have mentioned in previous lessons, colored chalk makes coloring large spaces such sky or backgrounds a snap and it is cheap…I recommend Crayola brand.  Just a reminder…crayon will not color over chalk and vice-versa.  Choose a Bible memory verse that demonstrates the love and provision of God for His children.  Here are a few that would be appropriate for this lesson.

“The LORD is good, a stronghold in the day of trouble and He knows those that trust in Him.” Nahum 1:7

“Oh how great is Your goodness which You have laid up for those that fear You…” Psalm 31:19

“And we know that all things work together for good to them that love God, to them called according to His purpose.” Romans 8:28

“For our light affliction which is but for a moment, is working for us a far more exceeding and eternal weight of glory…”          2 Corinthians 4:17

.

You will need small branches so each child can glue one  near Moses after the page is colored. (see sample for placement)  For a worksheet that does not have any text see the  printable worksheet at kidsbible.wordpress.com

God Bless

Transfiguration

transfiguration

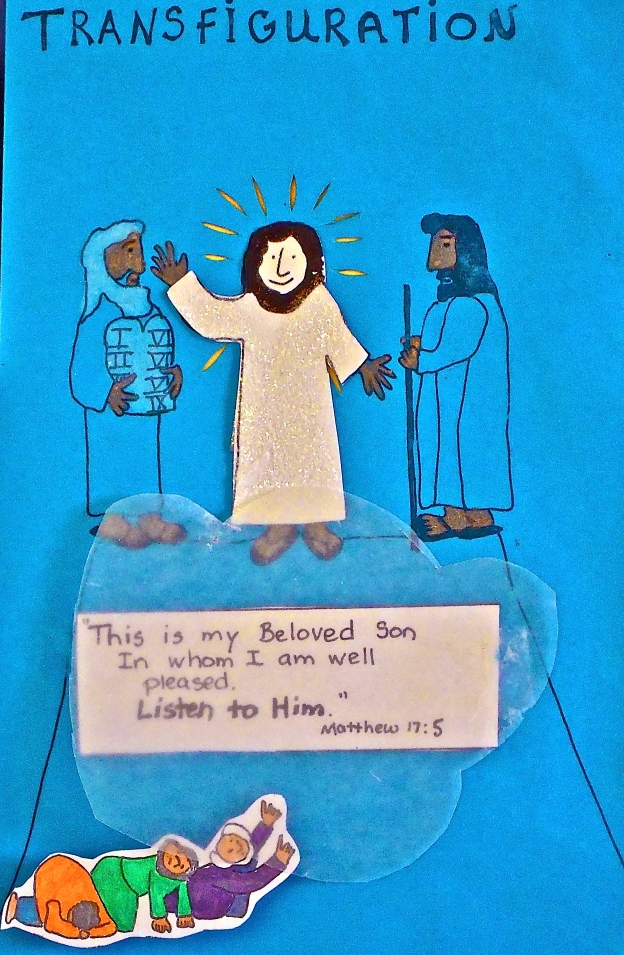
Peter, James and John had the privilege of seeing the Lord in His heavenly glory and majesty , hearing the voice of God, and seeing Moses and Elijah. Read about it in Matthew 17, Mark 9 and Luke 9 .This requires 1/2 sheet of dark card stock per child so there is a contrast with Jesus’ robe.  You will also need glitter for this. (A transparent glitter is best)  Put a “jacob’s ladder” under Peter, James and John.  For instructions see you-tube ” How to make a jacob’s ladder” uploaded by rostichery.  Wax paper cloud is optional.

Look and Live – continued

This is a two-part lesson that spans Old and New Testaments. The story is found in Numbers 21 but more importantly, Jesus refers to this incident in John 3:15.  You will need black cardstock, gold gel pens, google eyes, glue  and a worksheet.  If your kids can not read cursive you can re-write the worksheet. To reinforce the gospel message there is a “Gospel”

Look and Live - worksheet

Look and Live – worksheet


crossword to go with this teaching. To assemble the booklet,  staple 4 pages of black cardstock together, 4 1/2 inches long by 6 inches wide. Use previous blog to show you placements for the verses .  Here is the page line up:

1. Front cover – Isaiah 45:22 ( 3 pairs of goggle eyes)

2.  “…and the people spoke against God…”, picture of kids

3. “Therefore the people came to Moses…” pic of Moses

4. “Look and Live” (have kids draw pole and brass serpent)

5. “The LORD said to Moses, ‘Make a fiery serpent…'”

6. Pic of Nicodemus and Jesus

7. John 3:14-15 – draw a little cross on a hill and have kids write out the verse.

The LORD proclaims His Name

I get very excited thinking about this lesson. In Exodus 32, we read that  Moses has come down the mountain to find that the people have quickly turned aside from obeying the LORD as He had commanded .  The consequences are swift and dire. Now Moses waits upon the LORD to see if His presence is still going to accompany them on their journey to the promised land. Again we find Moses pleading with the LORD to be gracious to them , and Moses goes one bold step further and asks to see the Lord’s glory. In chapter 34  the LORD passes by before Moses, who was hidden in the cleft of the rock, covered by His hand, and the LORD proclaims His name which describes His character.  Behind each door is one of these traits… merciful, gracious, longsuffering, abundant in goodness, abundant in truth, forgiving sins, transgressions and iniquities, and  a righteous judge  that will punish those who hate Him (implied ).

You can match your colors to whatever season you find yourself teaching this lesson in. The doors measure  1 1/4 in. by 2 1/2 in.  If  you prefer to teach using Yahweh for “The Name “, here is an alternative worksheet:

Not your Ten Suggestions

the-10-commandments1

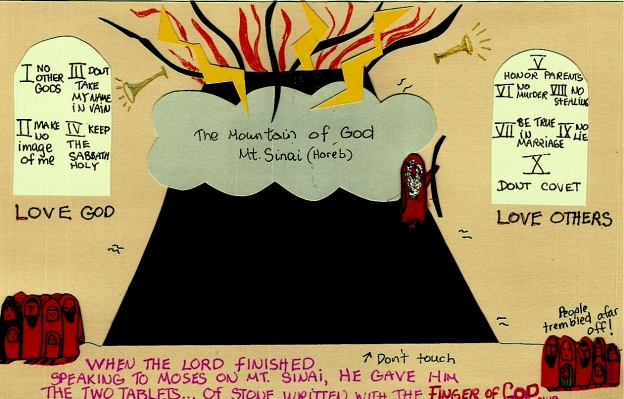
Can’t remember all ten commandments ?  Jesus downsized this list to just two when quizzed by the lawyer in Matthew 22 as to which  one was the greatest .  Our Savior replied that loving the Lord God and your neighbor as yourself , sums up all the Law and the Prophets. There was quite a bit of activity on the mountain of God that you can read in Exodus 19-20. We know that Moses was on the mountain for 40 days and nights receiving God’s ordained laws and plans for the tabernacle . This meeting was interrupted by the serious sinning going on down in the camp. Thanks to Moses’ intercession, the people were not  smoked on the spot !  The next lesson we will find out more about our Gracious and Longsuffering God. One technique that I use is the “Jacob’s ladder” . They will make your people tremble, and I use them on many project, especially where  I want to show fear… I just did not know how to explain it…but  for a demonstration go to “You – Tube” and check out “how to make a Jacob’s Ladder” uploaded by rostichery.  You will also need to  need to make a template for Mt. Sinai.

Victory over Amalek

Victory over Amalek

This story is almost overshadowed in Exodus 17 by the dramatic “striking of the rock” by the rod of Moses that resulted in water for over two million faultfinding people and their livestock.  Amalek , a picture of the “flesh” I’ve heard it preached, came to fight Israel at Rephidim. These war-like descendants of Esau  ambushed the weak and feeble stragglers  and had no fear of God.   Joshua was to choose men to go fight (the first mention of Joshua in the scriptures and their first battle) while Moses went up the hill with Aaron and Hur to pray. It was a long, hard battle but Joshua finally disabled Amalek with the sword . (a sword is a picture of the Word of God) “And the Lord said to Moses, write this for a memorial in the book and rehearse it in the ears of Joshua…” This is the first mention of Moses writing anything….Amalek will be no more be remembered under heaven!   “And Moses built an alter and called the name of it, The Lord is my Banner  JEHOVAH- NISSI.”  Today we battle the sins of the flesh through prayer and the Word.  The “flesh” (Amalek) will make you too busy , tired or distracted to pray…It will be a fight but we must persevere!!!!  

figures

You will need brass brads and glue for this lesson.  Cotten may be added to Moses’s beard. You may want to add some “battle scenes” …

"battle scene"

“battle scene”

Crossing the Red Sea or “It sucks to be in Pharaoh’s army”

Crossing Red Sea

Just a coloring page this week so that gives you a lot of time for review  and for telling this exciting story found in Exodus 14. This is “THE EXODUS”  and God  fought this battle for HIS people. It is lamentable that so many are offended that our God fight’s against HIS enemies.  In the Song of Moses (Exodus 15: 3) we read that  “The LORD is a Man of War”. I am glad that we serve a God who is mighty to save. 

God’s Wonders

God's wonders

These are the first nine plagues that God used to show HIS  mighty right  arm in Exodus 6-11.   I sit the kids at a table for this lesson.  Teach one plague and then reinforce the info with working on the appropriate square. Everything you need is on the worksheet  except the hail. Use hole- punched hail or draw your own.   You will also need scissors, glue and something to color with. The red strips are the froggie’s tongues.You will need to color the backs of the tongues red and then curl them  before gluing.  Write  or glue Exodus 8: 1  in the space under the darkness.

The Burning Bush

Burning Bush

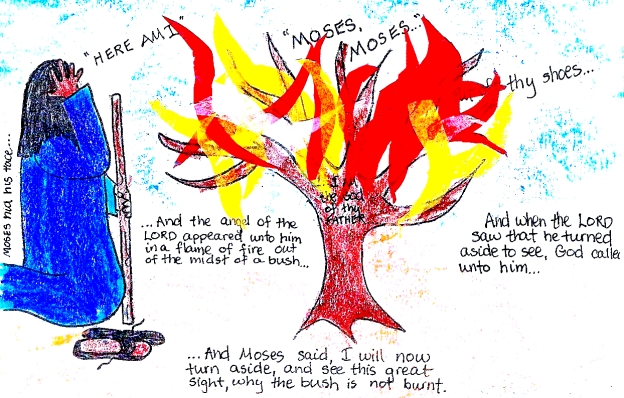
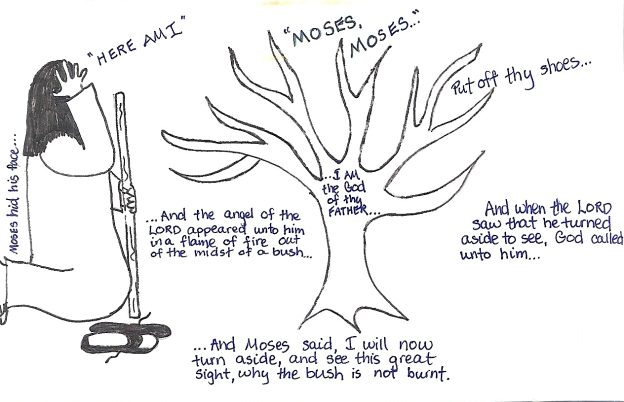
Prince of Egypt for 40 years but having to flee after killing a man who was beating a fellow-Hebrew, Moses has been in Midian for 40 years , shepherding  for his father-in-law. He led the flock to the vicinity of Sinai, the mountain of God , where the  LORD appeared to  him in a flame of fire out of the midst of the bush  “…and he looked , and behold, the bush burned with fire yet was not consumed.”  God was getting ready to call Moses to be the mighty deliverer His  enslaved people had been praying for.  Read about it in Exodus 2.  Tissue paper makes really good flames…so you need yellows, oranges, and red flame-shaped pieces, pre-cut, and ready to glue with slightly diluted white glue and paintbrushes. Q-tips could work in a pinch.  Have the kids color the page before gluing the flames.

Burning Bush worksheet

Baby Moses

Baby Moses

Baby Moses

The kids have a lot of fun with this. You will need black duct tape ,a stapler, plastic babies from the craft store, scraps of material and brown or green cardstock. There is a lot of prep work because you will need to cut the basket  and lid with an x-acto blade…something I never allow a child to handle.  To complete your “set-up”, include the basket and lid strips (older kids can cut these), a square of material for a blankie, a baby, and a memory verse to be glued to the inside of the lid. (Hebrews 11:23  ” By faith Moses’ parents hid him for three months after he was born…they were not afraid of the king’s command.” After the basket and lid are weaved, line your pieces with black duct tape, figure out which side you want the “pitch” to be on and fold up your ends like you are wrapping a package. Staple ends , attach lids with little pieces of duck tape, and glue your verse . Baby Moses is ready for his nap !babies